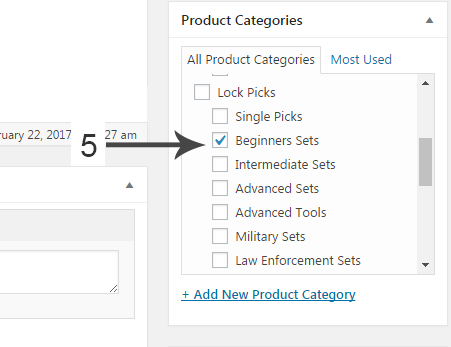
5. On the right hand side bar under ‘Product Categories’ select the category which you want to assign this product.
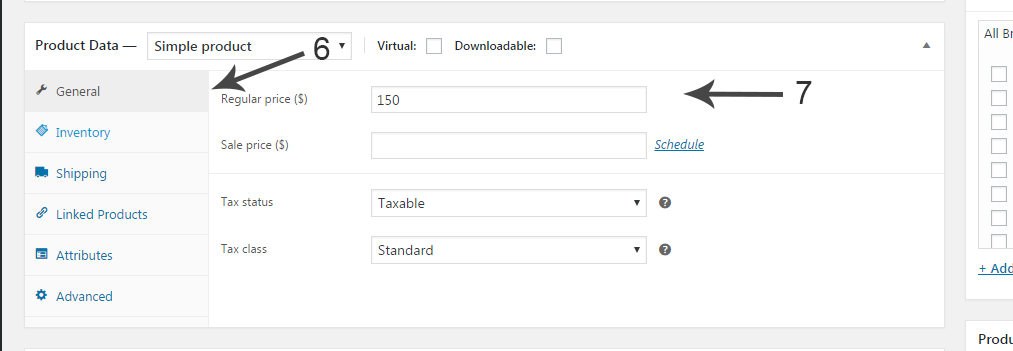
6. Click on ‘General’.
7. Set your product`s price from here.
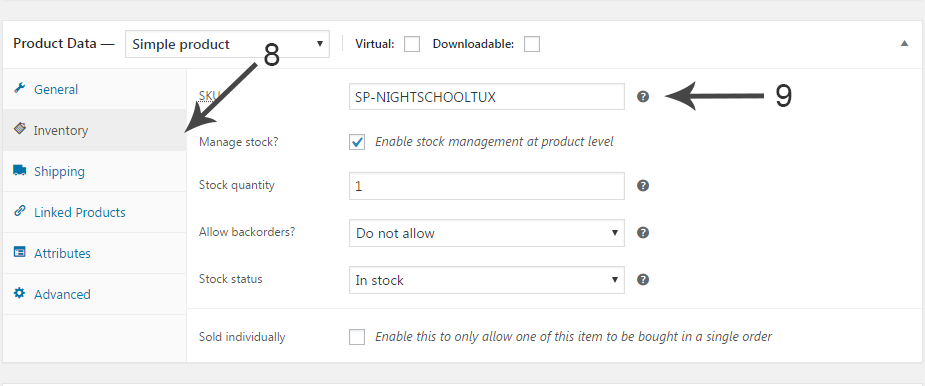
8. Click on ‘Inventory’
9. Set SKU, Stock Quantity, Stock Status from here.
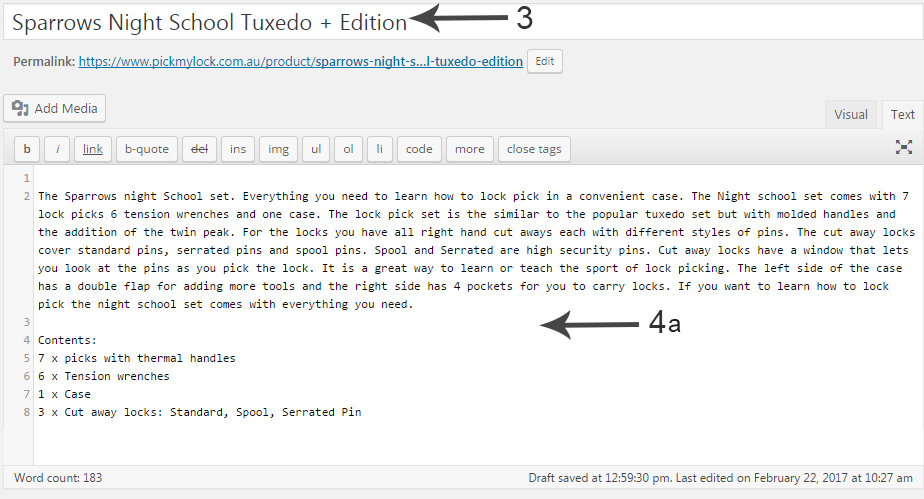
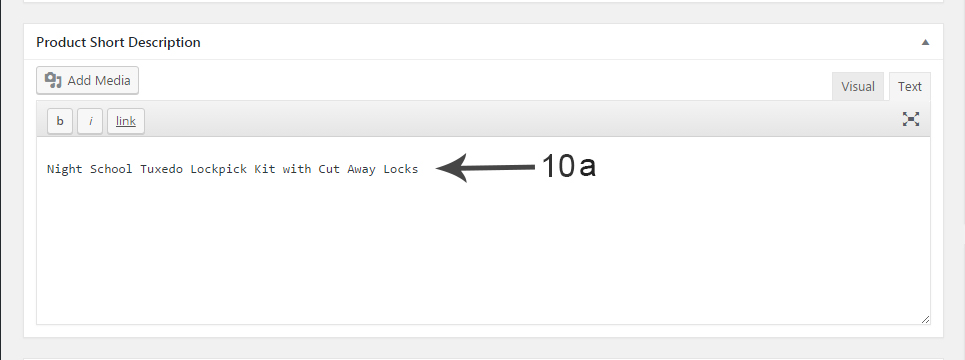
10a. Set product`s short description here.
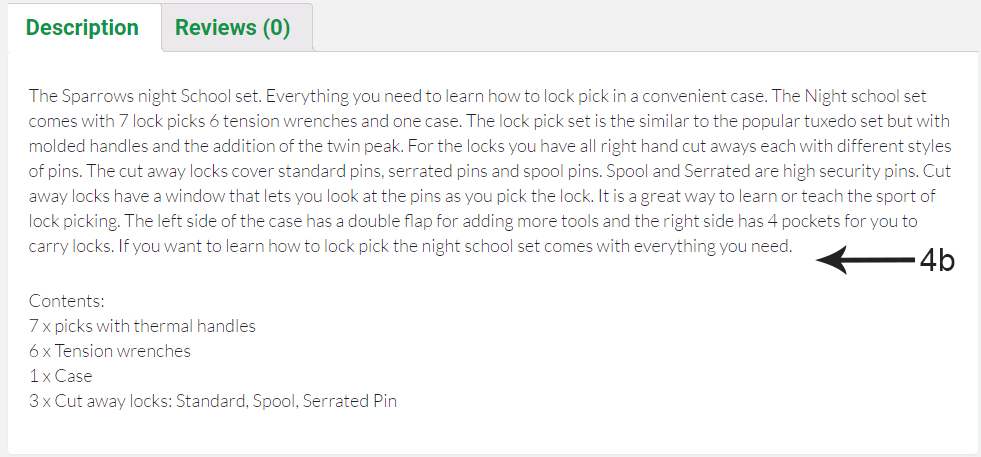
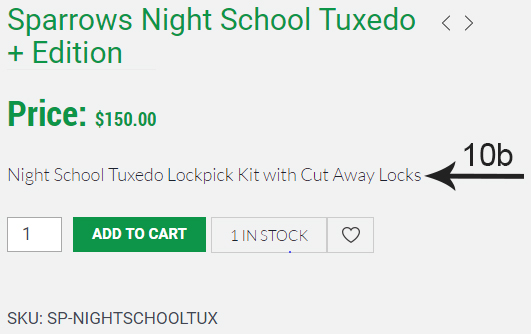
10b. Product`s short description would be shown here.
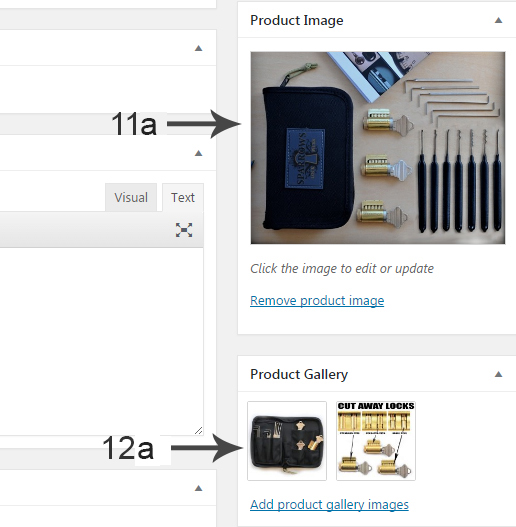
11a. From here you can upload your product image.
12a. From here you can upload product`s gallery.
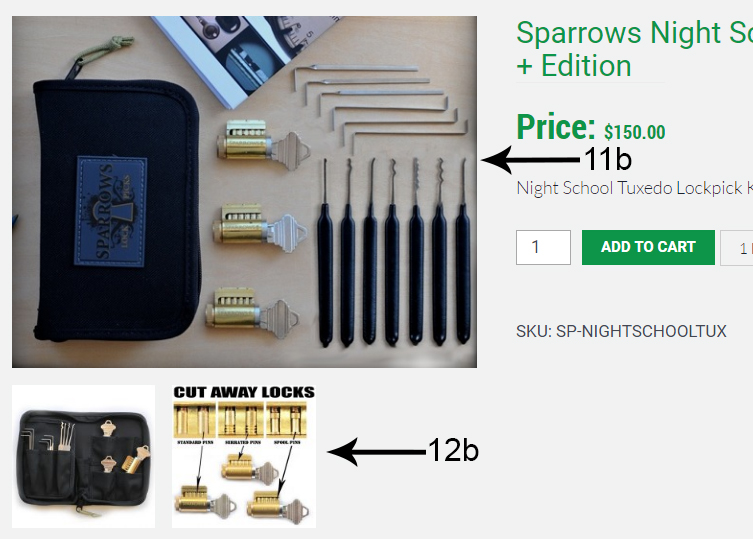
11b. Product image would be shown here.
12b. Product`s gallery would be shown here.
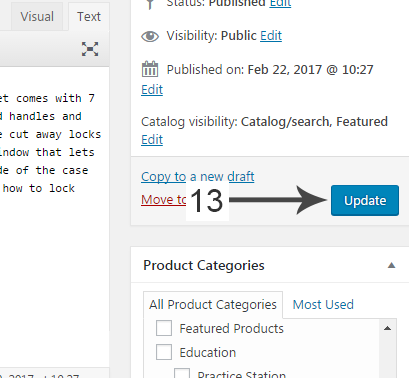
13. Click ‘Update’ to save the changes.
b) How to manage order of products
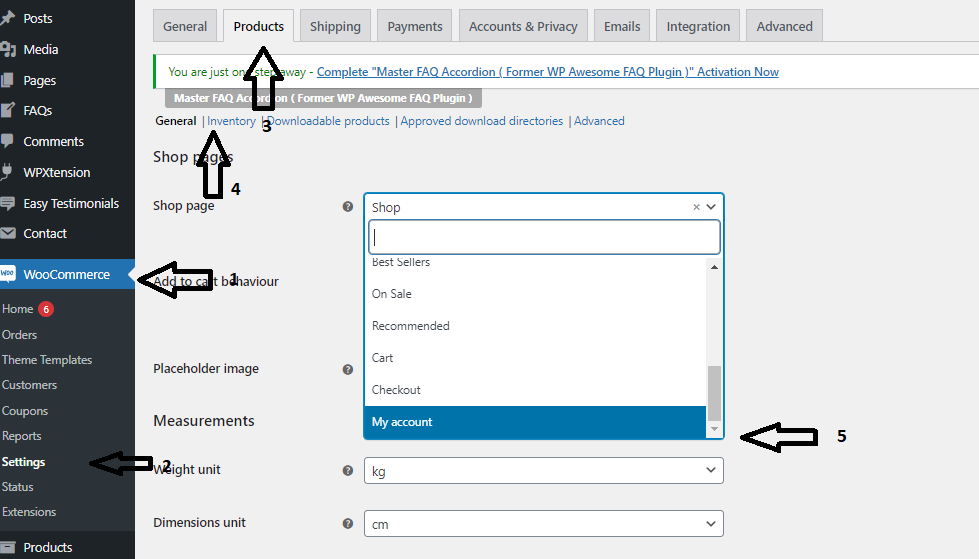
1. Click on ‘WooCommerce’.
2. Click on ‘Settings’.
3. After that click on ‘Products’.
4. Click on ‘Display’.
5. Select product sorting option from here.
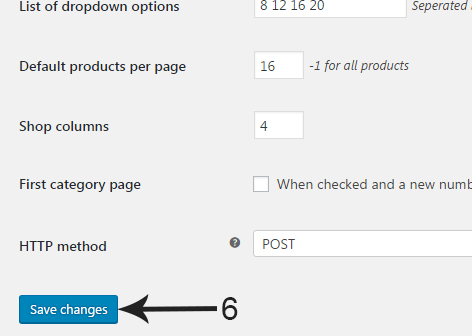
6. At the bottom of the page click on ‘Save Changes’ button to save the changes you made on product sorting.
c) How to show products in Top Sellers area on home page
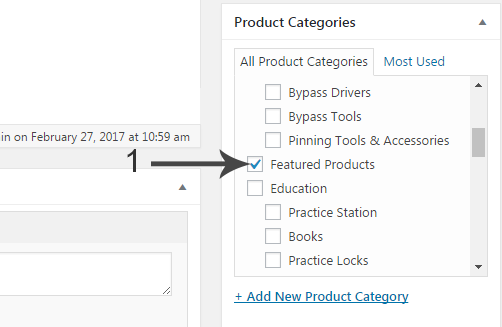
1. On the right hand side bar under ‘Product Categories’ select ‘Featured Products’ if you want your product to show in ‘Top Sellers’ area on home page (shortcode for showing featured products is already placed on home page template).
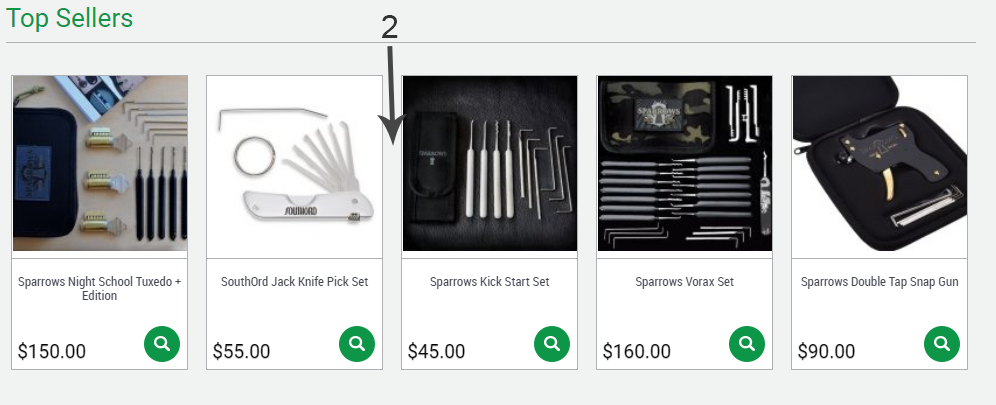
2. Above is the screenshot of the ‘Top Sellers’ area on home page.
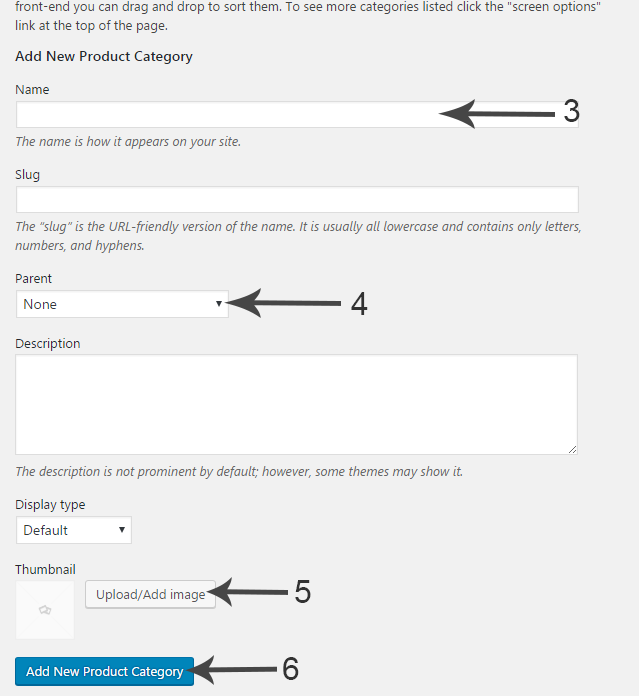
d) How to add Product Category
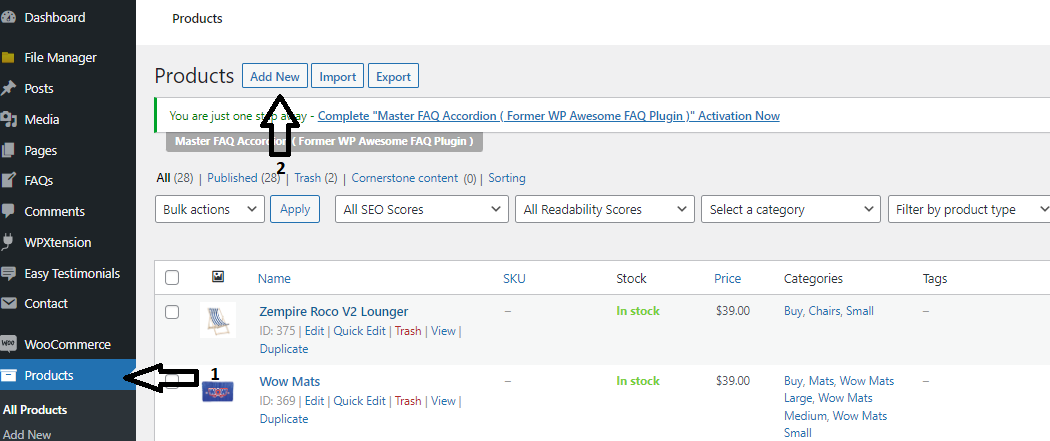
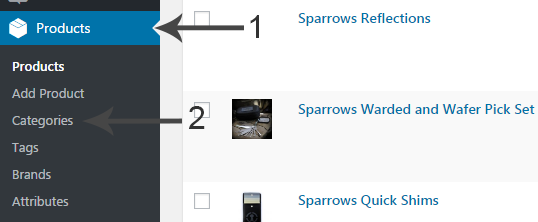
1. On the left hand side bar click on ‘Products’
2. After that select ‘Categories’
3. Enter your category name here.
4. If it is a child category then select its parent category (child category is the sub category of parent category).
5. Add category image here.
6. Finally click on ‘Add New Product Category’ button to add your category.
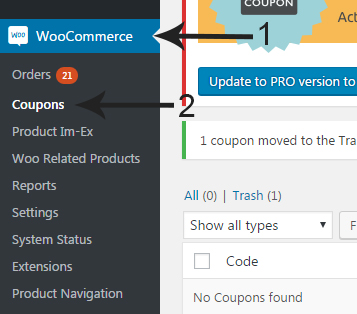
e) how to create a discount code
1. On the left hand side bar click on ‘WooCommerce’
2. After that select ‘Coupons’
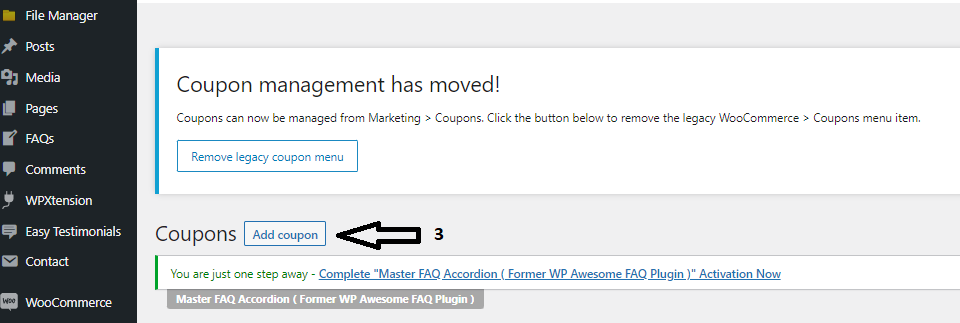
3. Click on ‘Add Coupon’ button.
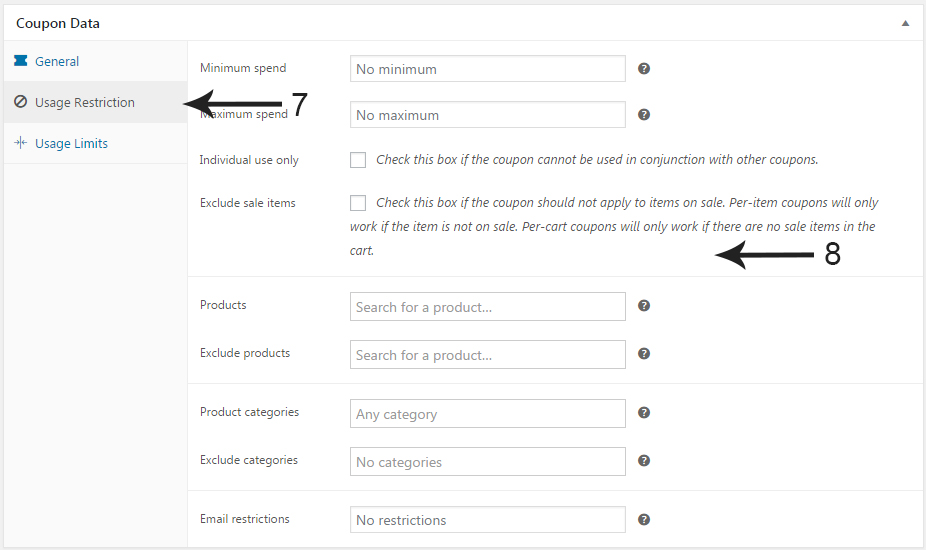
4. Enter your ‘Coupon code’ here.
5. Enter description of your coupon if you want here.